前提条件:
SDK——ti-processor-sdk-android-am57xx-evm-06.03.00.106
源码获取:ti-processor-sdk-android-am57xx-evm-06.03.00.106/board-support/aosp-9.0下利用repo sync命令拉取。
源码编译方式:
export KERNELDIR=xxx/xxx/ti-processor-sdk-android-am57xx-evm-06.03.00.106/board-support/linux-4.19.98+gitAUTOINC+8a8fd7ef1c-g8a8fd7ef1c
make -j8 clean
source build/envsetup.sh
lunch beagle_x15_auto-userdebug
nohup make -j8 > make.out 2>&1 &
编译完成后,使用以下命令制作emmc_files:
cp -rv prebuilt-images emmc_files
cp -v ./aosp-9.0/out/target/product/beagle_x15/{boot.img,boot_fit.img,recovery.img,system.img,userdata.img,vendor.img} emmc_files
cp -v ./aosp-9.0/device/ti/beagle_x15/fastboot.sh emmc_files
cp -v ./aosp-9.0/out/host/linux-x86/bin/{simg2img,mkbootimg,fastboot,adb} emmc_files
cp -v ./linux-4.19.98+gitAUTOINC+8a8fd7ef1c-g8a8fd7ef1c/arch/arm/boot/zImage emmc_files/zImage-beagle_x15.bin
cp -v ./linux-4.19.98+gitAUTOINC+8a8fd7ef1c-g8a8fd7ef1c/arch/arm/boot/dts/am57*.dtb emmc_files
cp -v ./u-boot-2019.01+gitAUTOINC+333c3e72d3-g333c3e72d3/MLO emmc_files
cp -v ./u-boot-2019.01+gitAUTOINC+333c3e72d3-g333c3e72d3/u-boot.img emmc_files
烧录步骤:
(1)连接FTDI线和usb micro线
(2)利用picocom进入u-boot命令行,启动fastboot
(3)利用fastboot去烧板子,进入emmc_files,运行命令:sudo ./fastboot.sh; sudo ./fastboot reboot
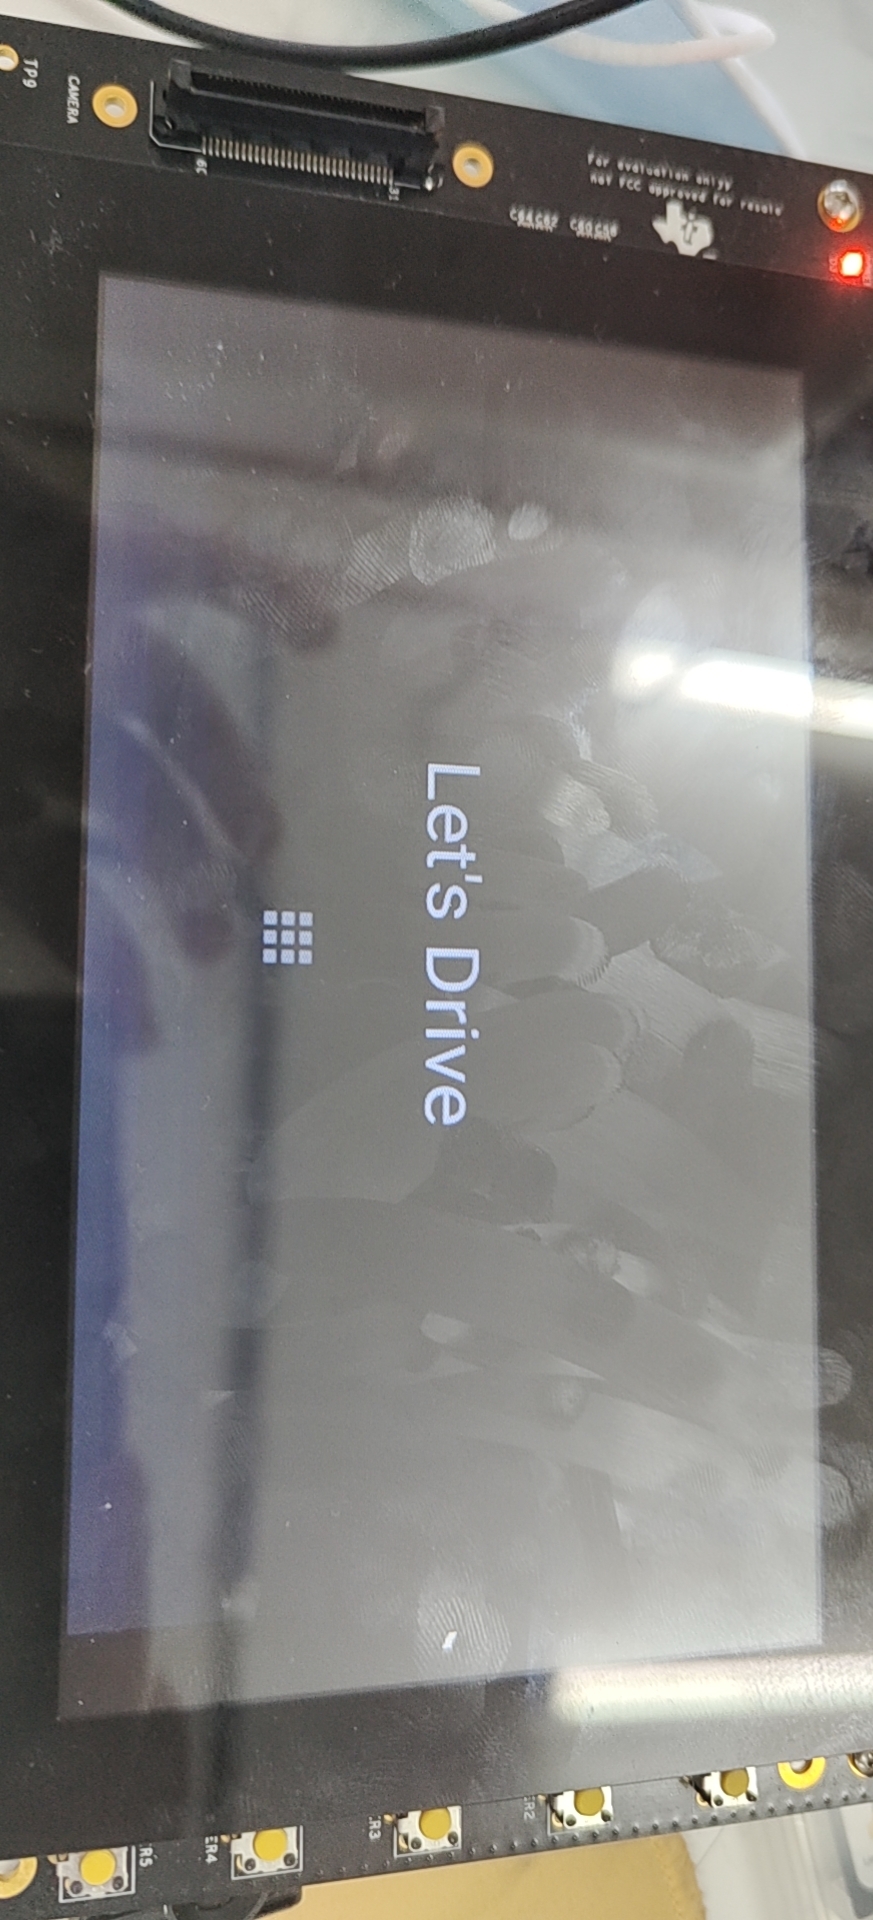
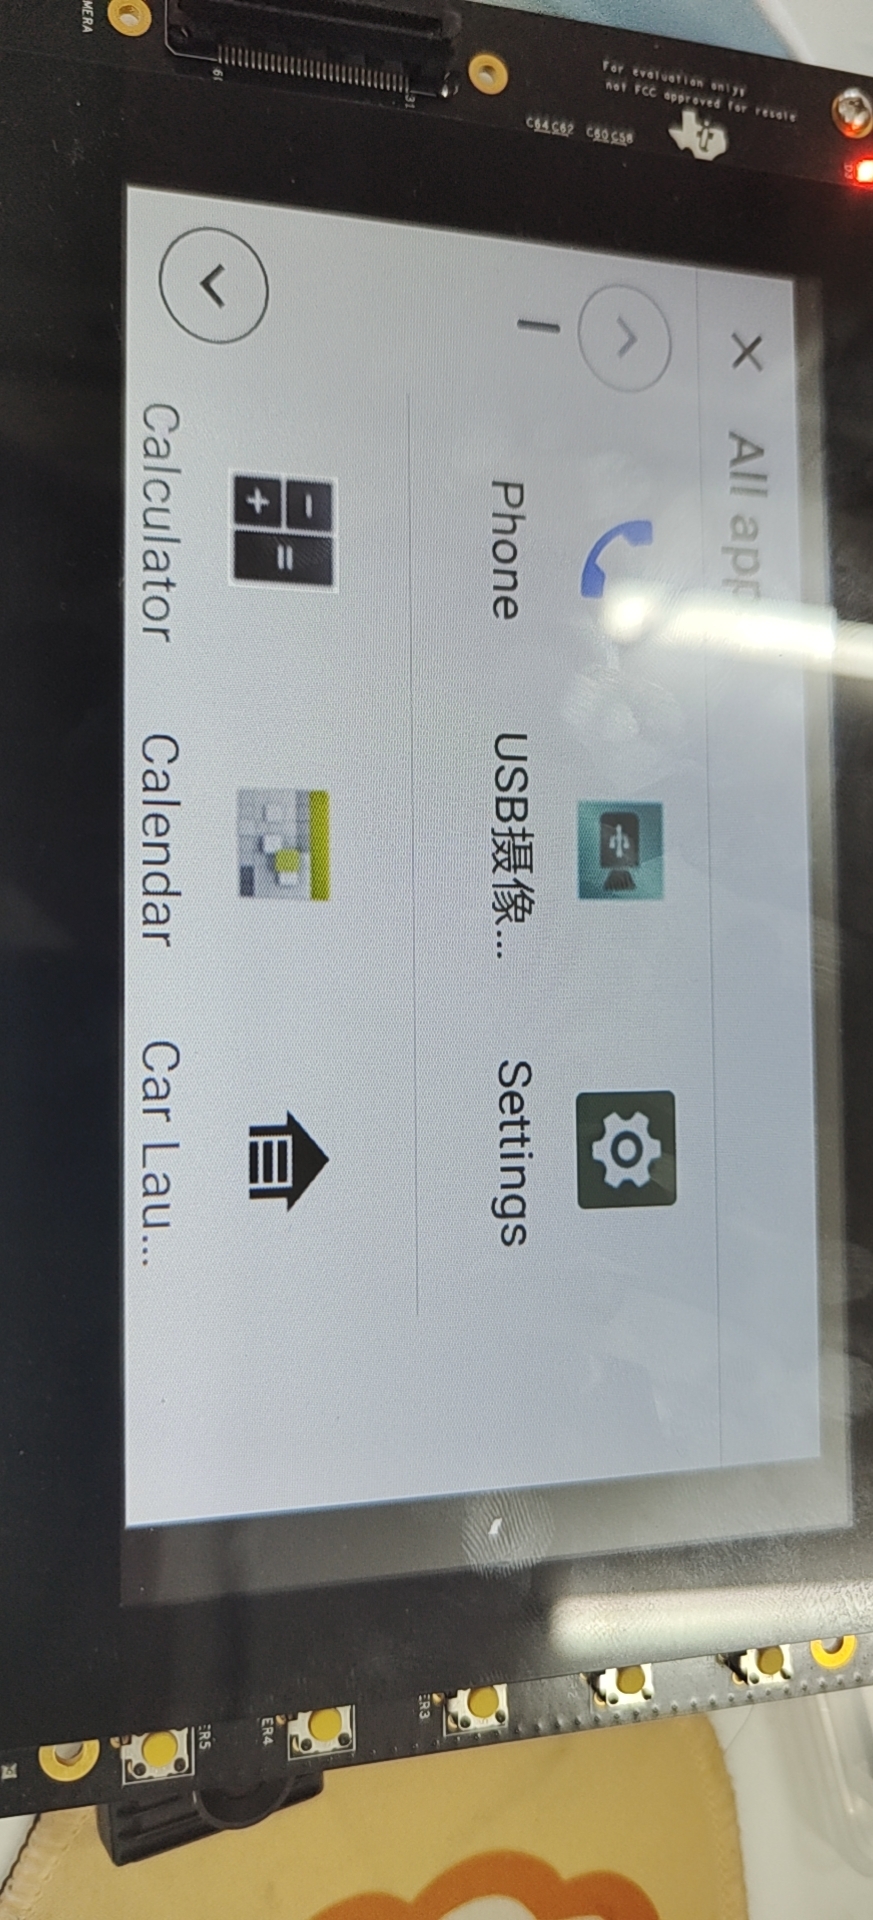
目前情况:Beagle_x15 Auto在AM5728上正常启动
问题:
(1)界面显示不完全,没有显示导航栏
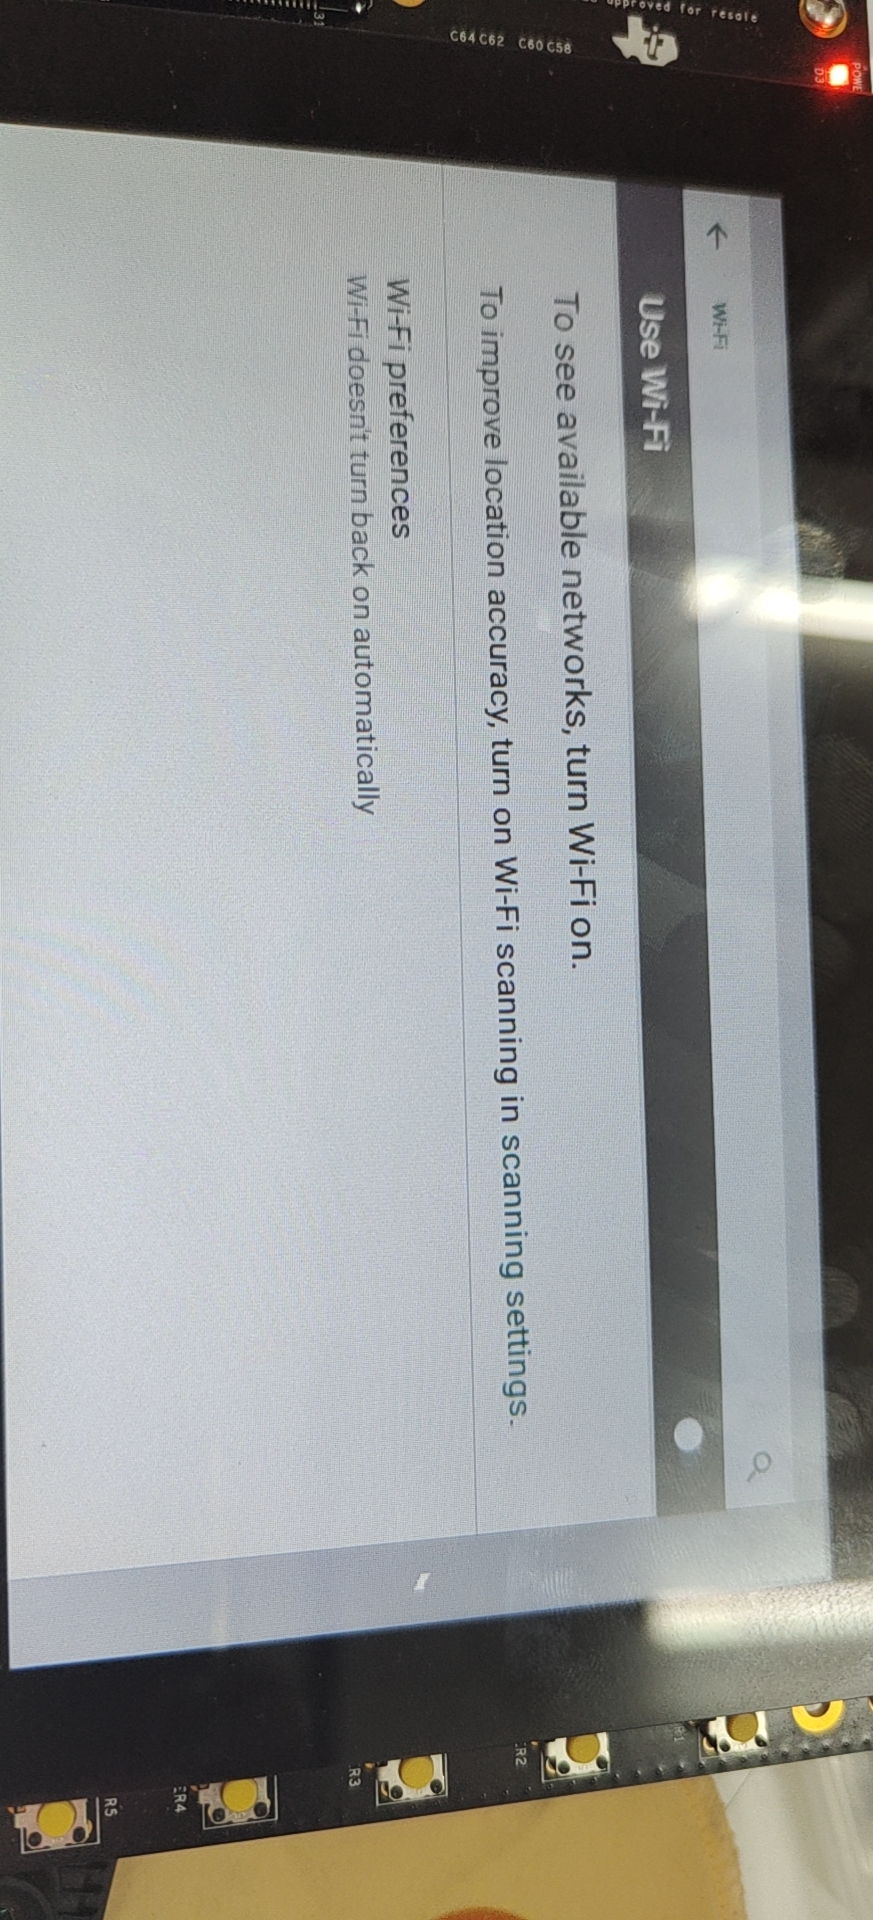
(2)wifi模块无法使用
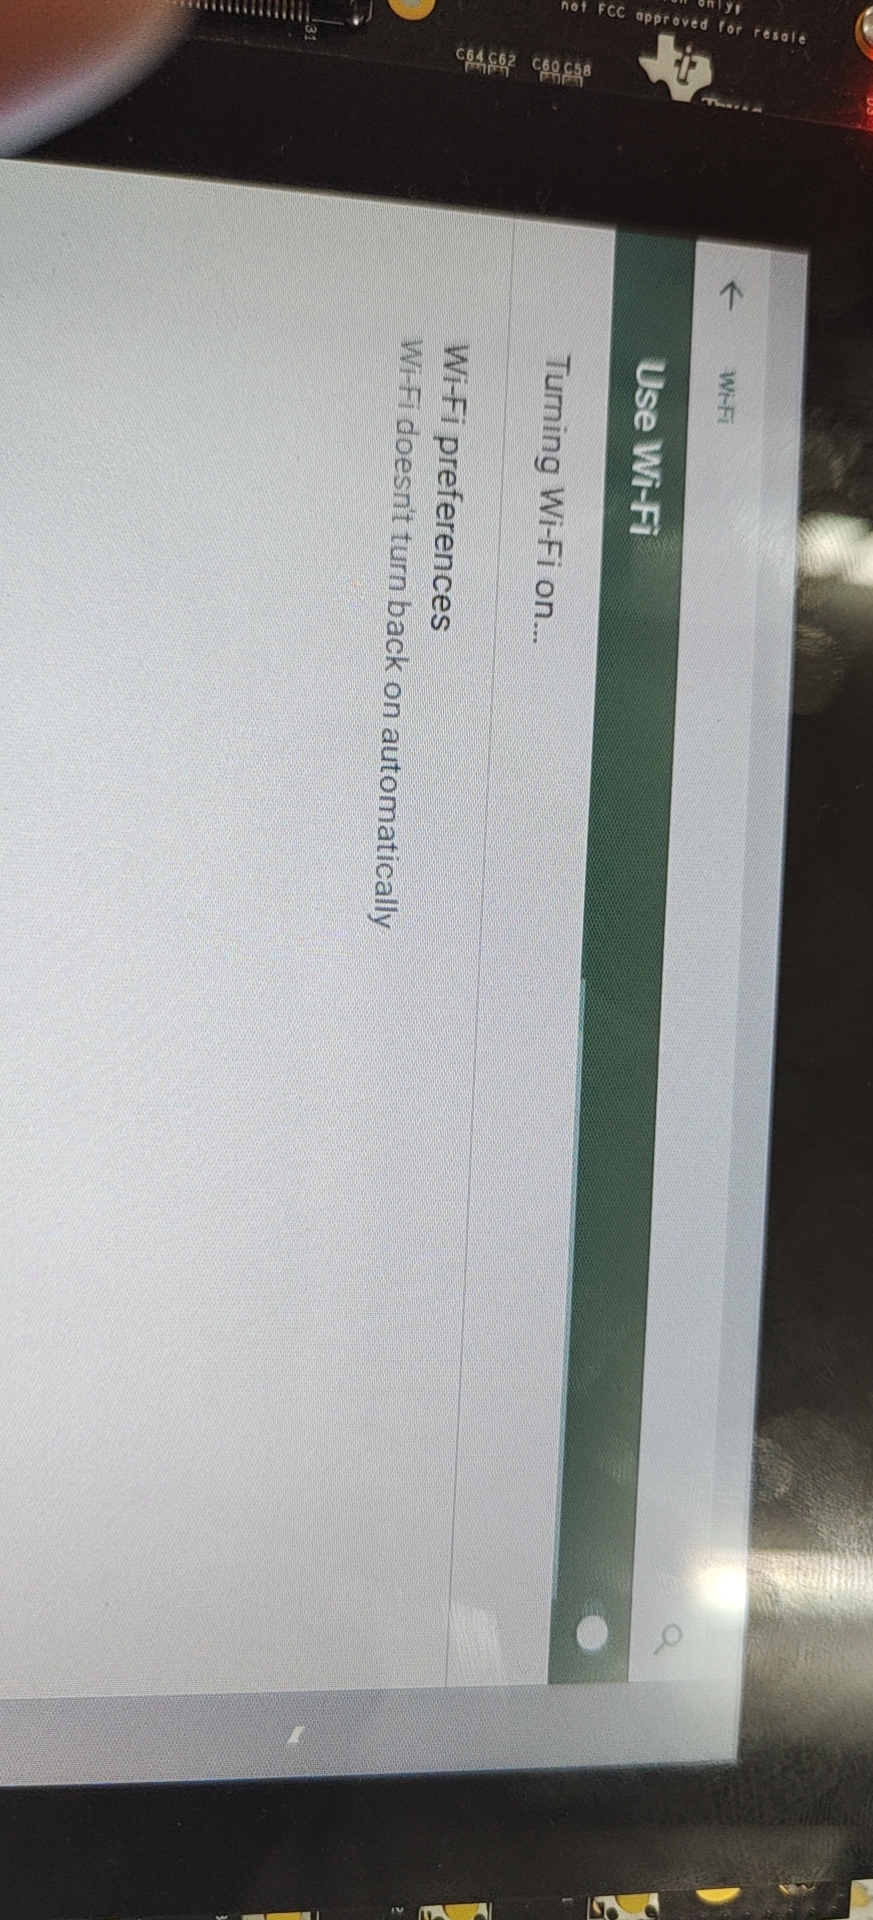
点击打开wifi之后,界面响应情况:
点击打开wifi之后,串口显示:

最终结果没有打开,界面维持Wifi未开启: